We support several SQL types, one of which is PostgreSQL, which is free and open source, and also the recommended backend for mAirList.
PostgreSQL is available for several operating systems, including Windows and also Linux. This tutorial focuses on Windows using the graphical user interface provided by PostgreSQL (pgAdmin). Experienced Linux admins will prefer to use command line tools instead. We will briefly cover this at the end of this tutorial.
Windows Setup
Download
We first download the PostgreSQL setup files for Windows, available from PostgreSQL: Downloads
The setup is hosted on a site named “EDB”, so just follow the links and download the appropriate installer. At the time of this writing the current version was 16.2.1, so the file downloaded was postgresql-16.2.1-windows-x64.exe.
(Update May 2026) mAirList 8 supports all recent versions of PostgreSQL, including version 18. Just download the latest one.
Run the Setup
You can just click through the setup wizard and confirm most default settings. There are only two things that need particular extension:
- Select Components: Make sure at least “PostgreSQL Server” and “pgAdmin 4” are selected. The Command Line Tools should be installed if you plan to do automated backups lated. Stack Builder can be safely deselected, we won’t need it.
- Password: You will be prompted to set a password for the PostgreSQL superuser
postgresql. Write this down and keep it in a safe place.
Then just wait for the setup to complete…
Start pgAdmin 4
pgAdmin 4 is the graphical administration tool for PostgreSQL. It can be found in the Windows Start Menu. Starting pgAdmin can take a while, just be patient.
You will be greeted by the main window:
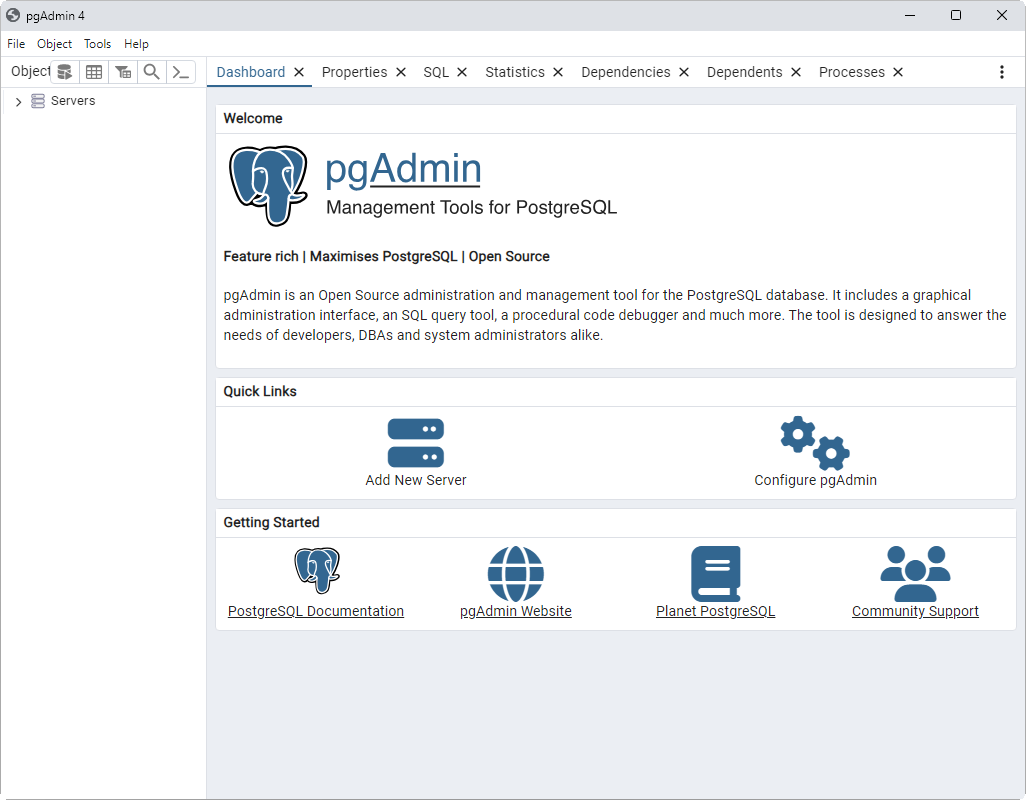
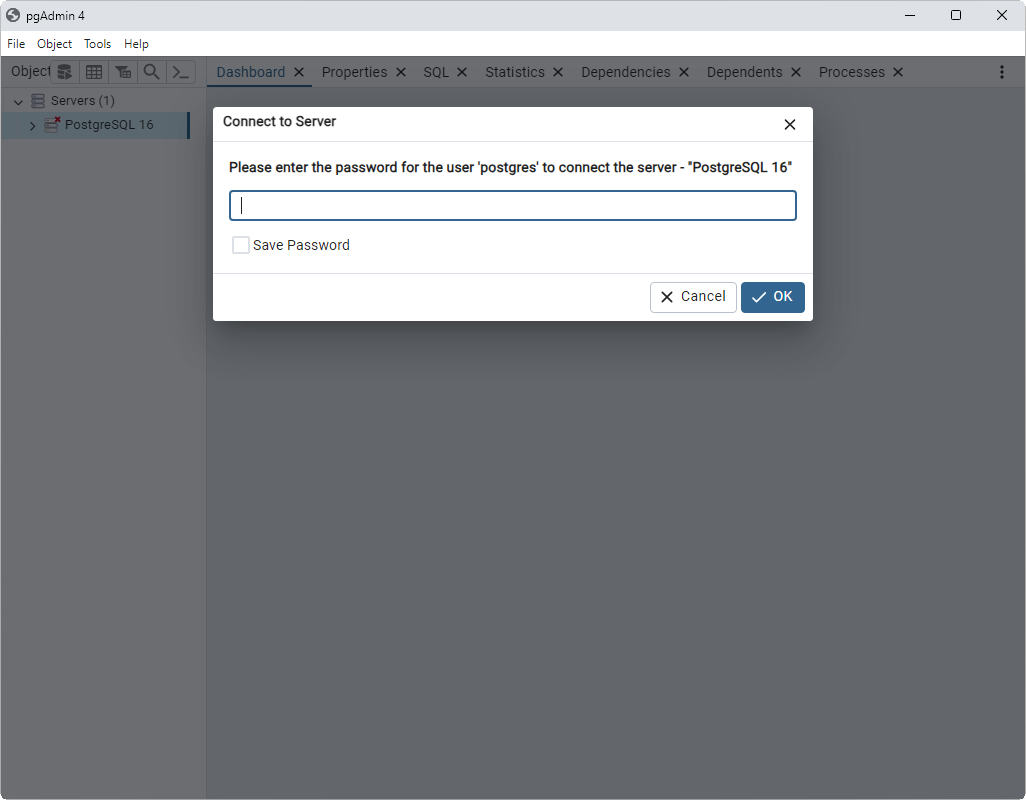
When you expand the Connections tree on the left, the local PostgreSQL server you have just installed has already been added. When you open it, you will be prompted to enter the superuser (postgres) password you chose during setup:
Add User
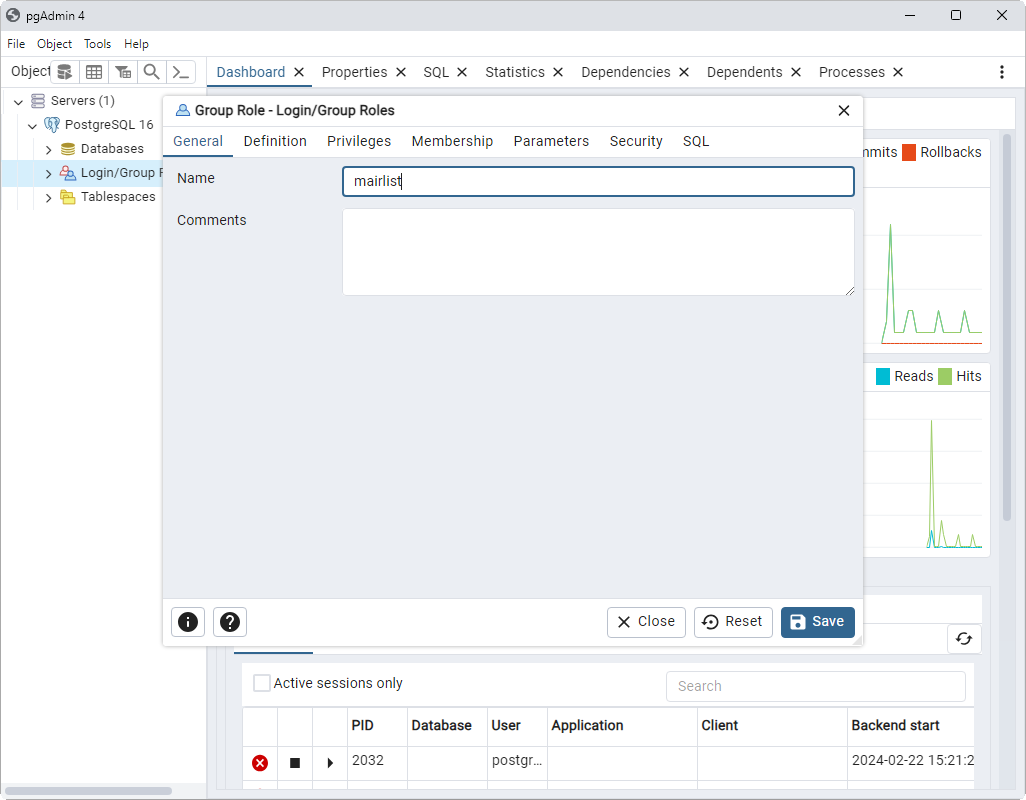
The first thing we need to do is add a user who will own the database, and that mAirList will use to connect to it. Select Login/Group Roles in the tree, right click that node, and then select Create → Login/Group Role.
On the General page, enter a name for the user - we will just use mairlist here:
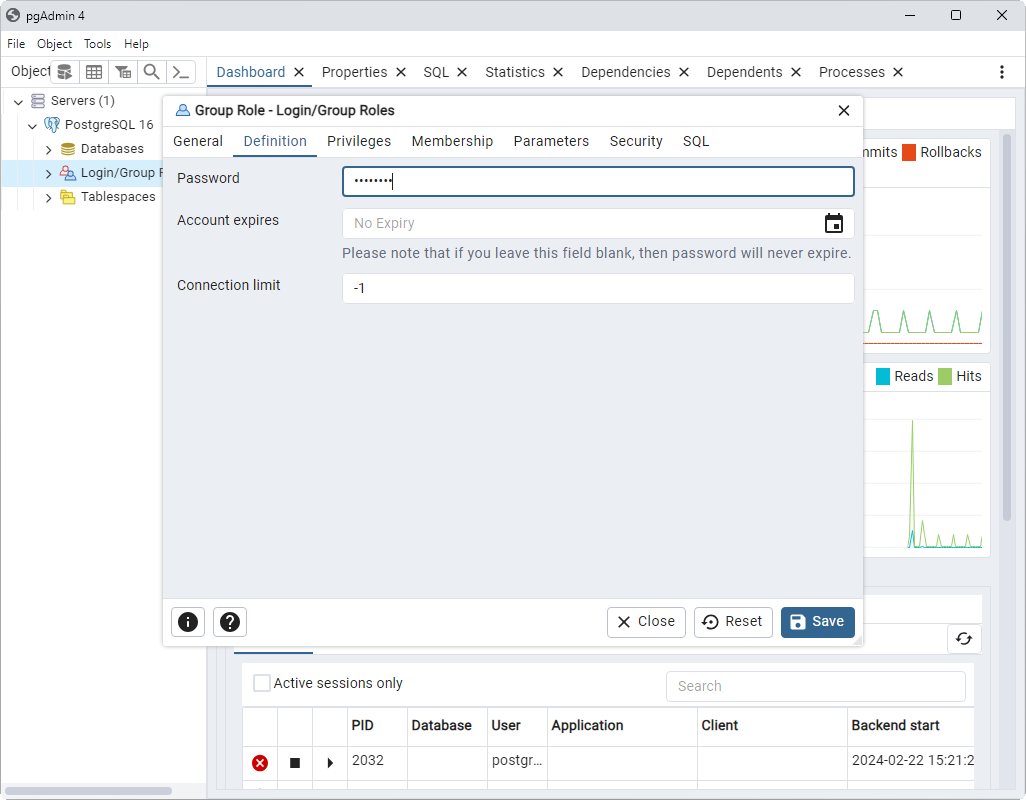
On the “Definition” page, enter a password for the user - write it down, you will need it when setting up the database connection in mAirList:
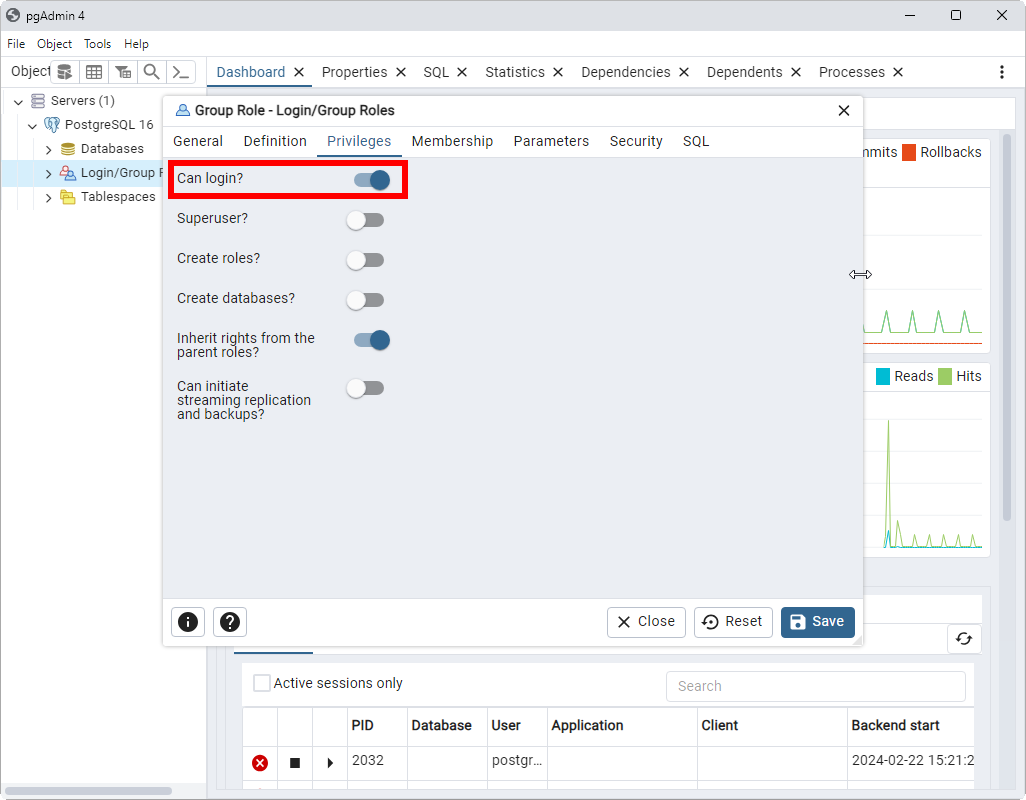
The final step is very important - on the Privileges tab, check “Can login”:
Create Database
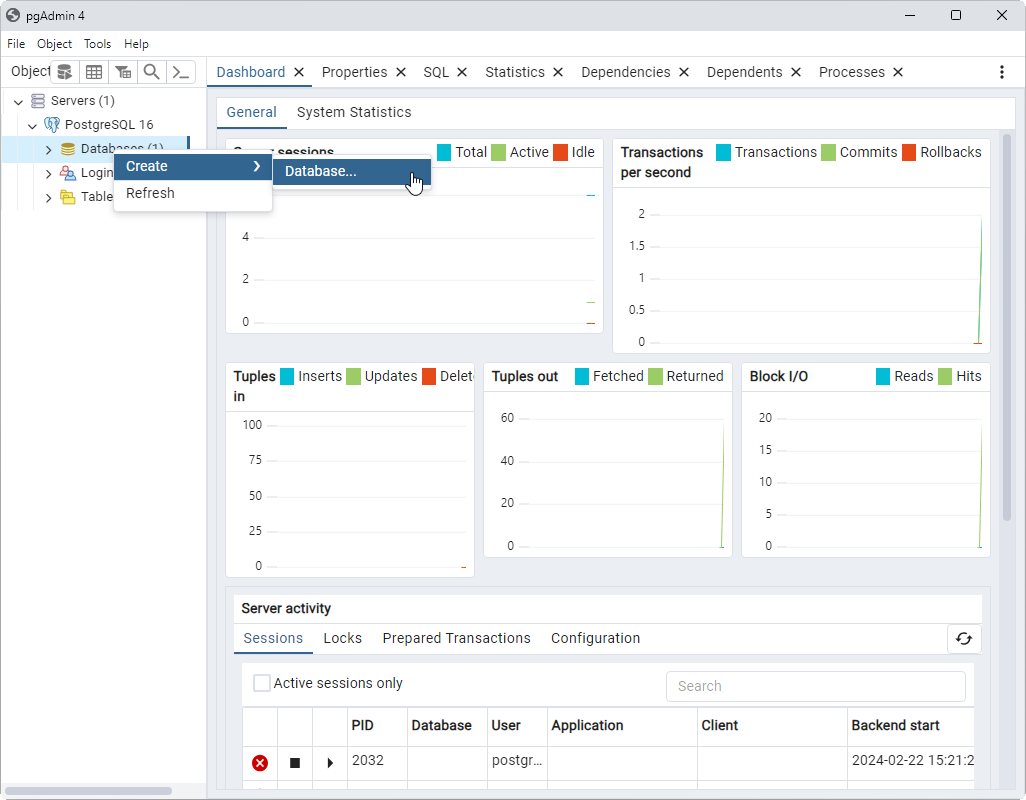
The second thing we have to do in pgAdmin is to create an empty database for mAirList, owned by the mairlist user we just created. So select Databases in the tree on the left, right-click it, and then click Create -> Database.
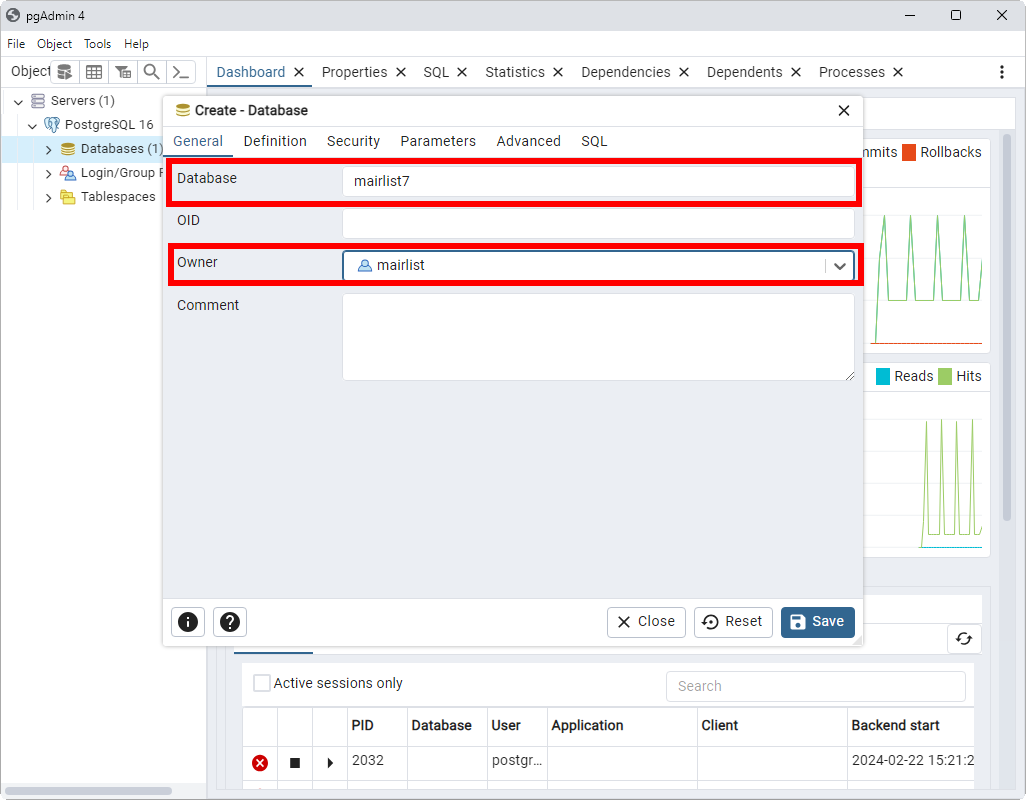
There are only two important things to set up here:
- Database (name): Give the database a useful name. We will use
mairlist7in our example. - Owner: Make sure it is owned by the
mairlistuser.
Click Save to create that database. This is all we had to do in pgAdmin, you can close it now.
Adjust Windows Firewall
This step is only required if you plan to access the PostgreSQL service from other computers in your LAN.
Open Windows Defender Firewall, then go to Advanced Settings. It should look like this:
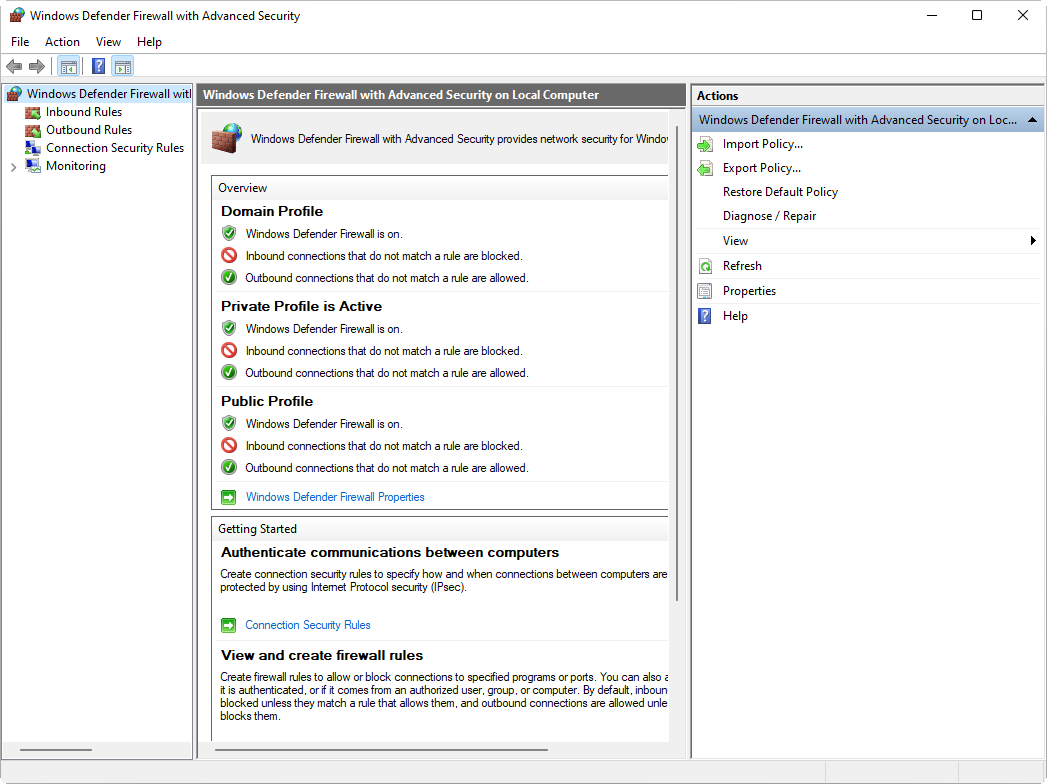
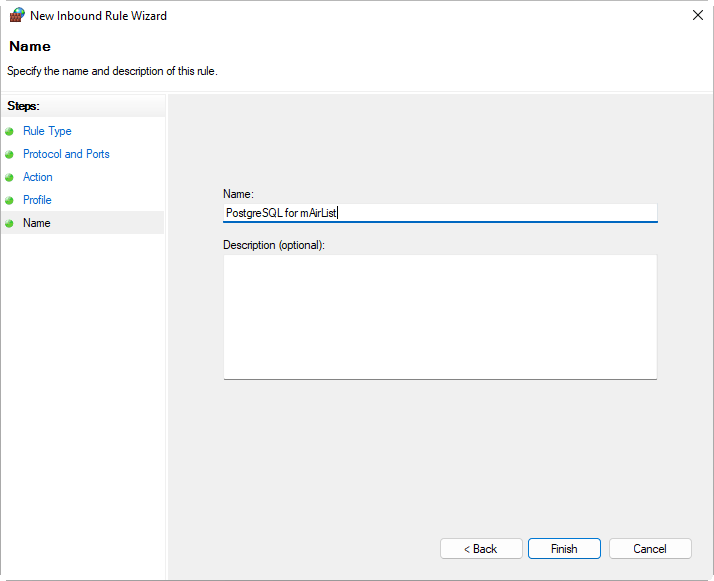
In the tree on the left-hand side, go to Inbound Rules, then click New Rule on the right-hand side of the dialog.
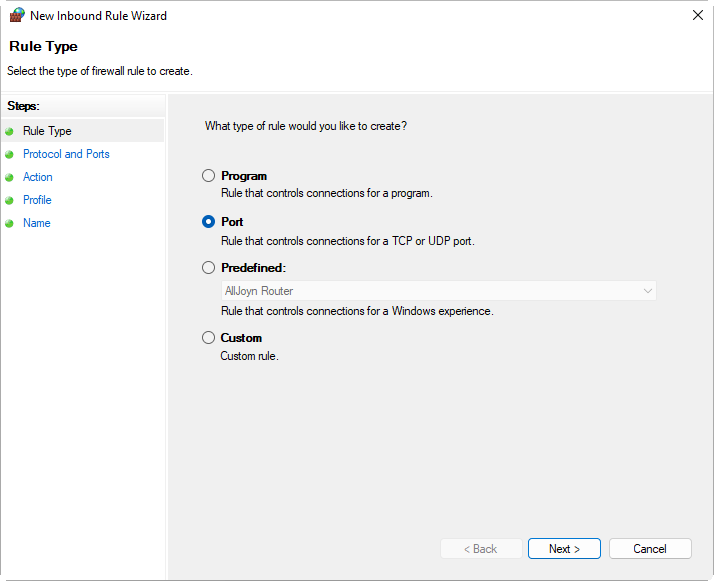
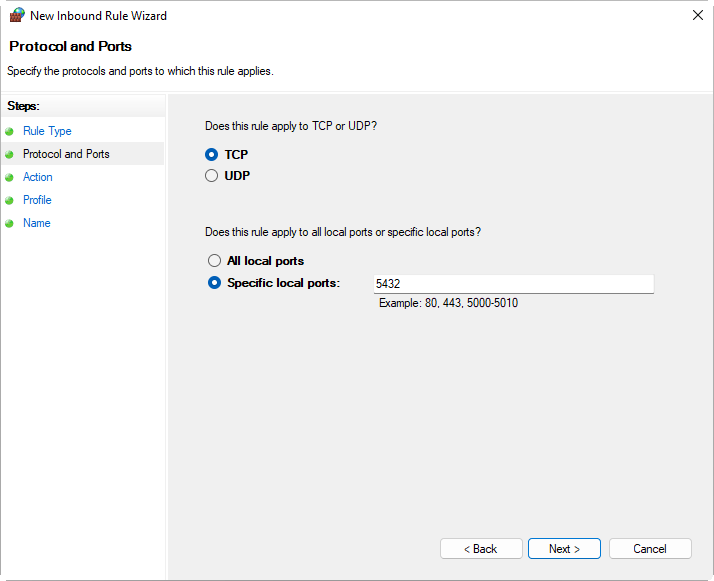
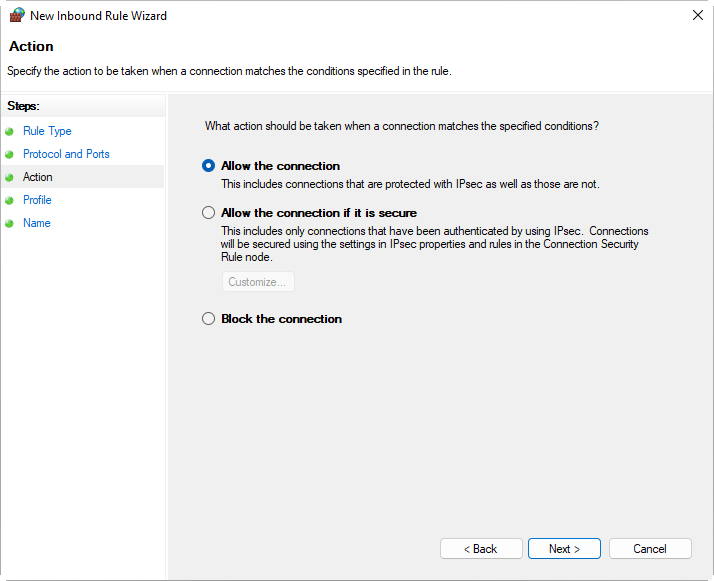
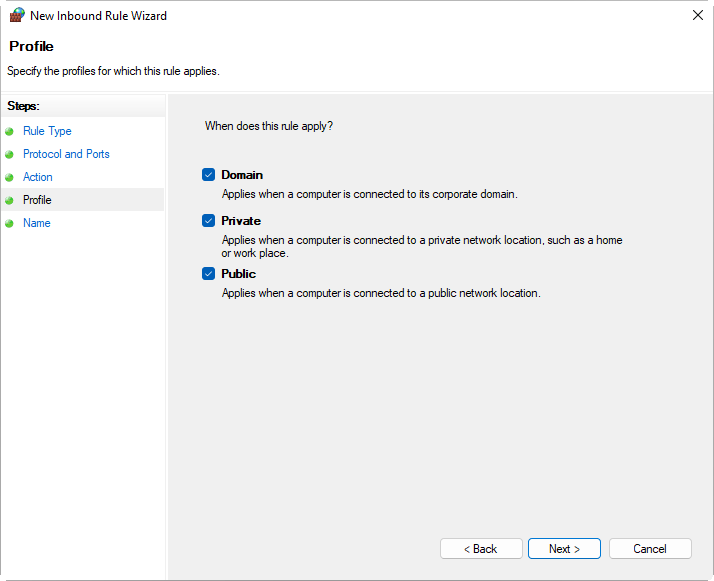
The rule should be configured as follows:
- Rule Type: Port
- Protocol: TCP
- Specific local ports: 5432
- Action: Allow the connection
- Profile: Select appropriate network type(s) or leave all checked
- Name: Enter a useful description, e.g. “PostgreSQL for mAirList”
Add IP Networks to pg_hbg.conf
Again, this step is only required when you want to access the PostgreSQL server from other computers.
By default, PostgreSQL will only accept connections from the same computer that it is running on (127.0.0.1). By adding entries to the pg_hba.conf file, you can whitelist additional IP addresses and networks.
The file is found in C:\Program Files\PostgreSQL\16\data, you can just open it in Windows Notepad or any other text editor.
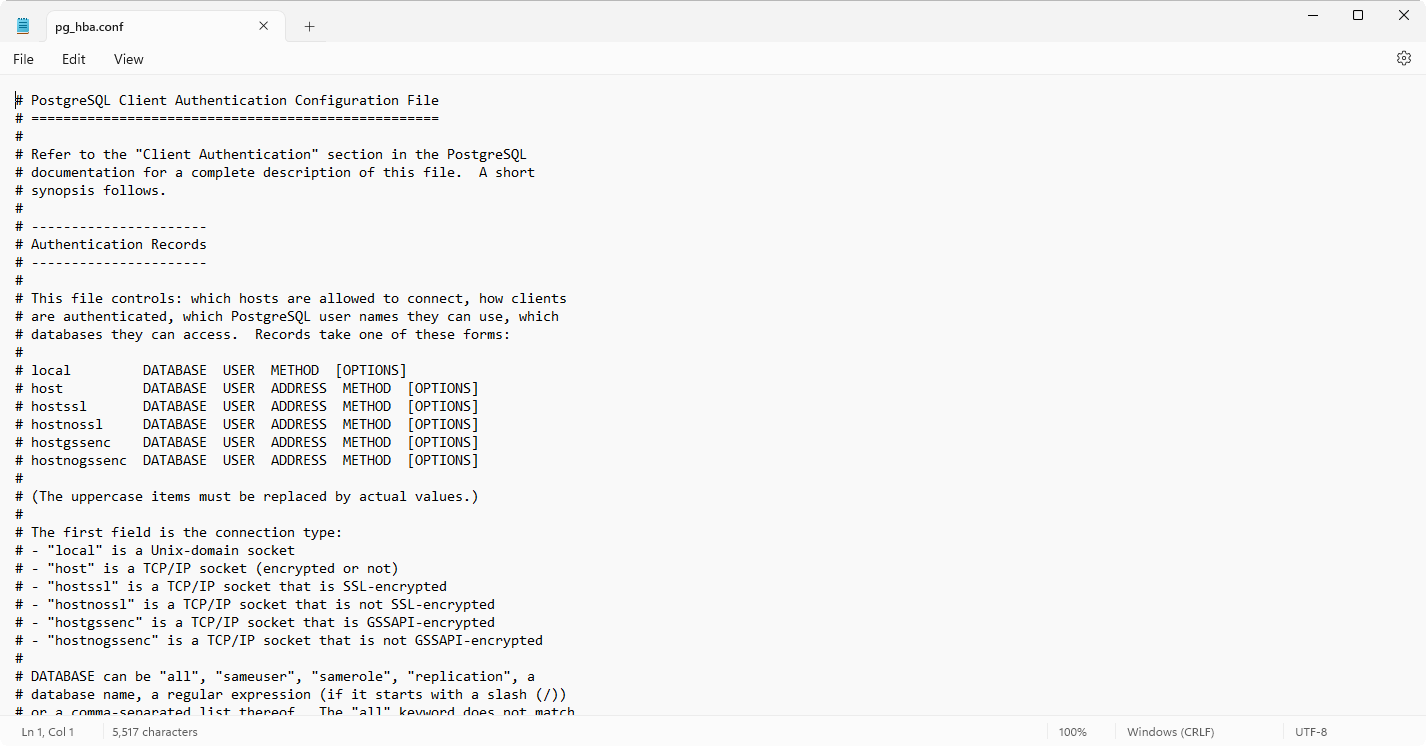
As described at the top of the file, the general format for entries is
host DATABASE USER ADDRESS METHOD [OPTIONS]
where “all” can be used to unlock all databases or all users, respectively.
Scrolling further down, you will find the following line that unlocks connections from the local host:
host all all 127.0.0.1/32 scram-sha-256
To unlock your IP network, e.g. 192.168.1.xxx, you can just copy and paste this line and adjust the network part accordingly (CIDR notation):
host all all 192.168.1.0/24 scram-sha-256
Important: You have to restart the PostgreSQL service after making changes to pg_hba.conf.
Command Line Setup (on Linux)
We assume that you have installed the PostgreSQL package for your distribution, and that you are working as the PostgreSQL superuser postgresq, i.e. you did su - postgres before executing the following commands.
Step 1: Create user mairlist (you will be prompted for a password):
postgres:~$ createuser -P mairlist
Step 2: Create an empty database mairlist7 owned by user mairlist:
postgres:~$ createdb -O mairlist mairlist7
You will also want to edit pg_hba.conf to add allow rules for your IP range, and restart the server after you did so.